

I went in to Paul Mitchell the School for a pedicure Thursday night…a MUCH needed pedicure…and got to visit with my friend Ashley. It was soooo much fun! I could talk to her for hours! 🙂 Ashley’s attending the full Cosmetology Program so when she is graduated she will be licensed in hair, nails, and skin. It’s a long road, especially for a mom with three kids, but I’m really excited for her and know she will be amazing!
Ashley loves doing nails and she’s really good at it. The problem is the course of study at the school doesn’t really go over too many nail techniques. I think they mainly focus on a basic manicure and a sculpted acrylic nail because those are the two things you need to know to pass your state board exam.
Ashley does quite a bit of nail art but it makes her slightly nervous so I told her there are lots of ways to do nail art without being a full on “master freehand artist”. In fact, it seems like most people that walk into the salon aren’t looking for an entire Leonardo da Vinci painting on their nails. There are some awesome, really simple techniques you can do to get a professional looking nail art manicure!
1. Foil Transfers
Gelish Passion, Artic Freeze, Waterfield with foils and studs
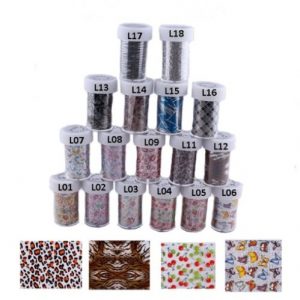
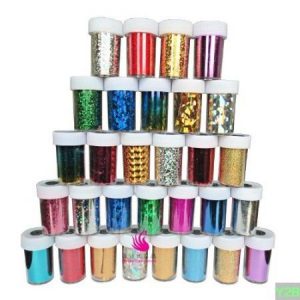
Foil transfers are some of the easiest nail art products out there! With gel polish, you simply press the foil into the sticky inhibition layer after you’ve cured the gel. With regular lacquer, once the lacquer has dried, I swipe a little bit of foil transfer glue where I want the foil to stick and press it down lightly. There’s a lot you can do with foils. There are some really fun patterns as well that give you an instant “picture” nail art look.
-
 + Quick View
Glitter, Foil, Striping Tape
BTArtbox New Designs Good Quality Random 17 Different Designs Fashion Type Nail Art Foil Transfer Roll without Adhesive
$13.99 -
 + Quick View
Glitter, Foil, Striping Tape
Newest Fashion 25 colors Nail Art Transfer Foil Nail Sticker Tip Decoration from Y2B
$6.27 -
 + Quick View
Glitter, Foil, Striping Tape
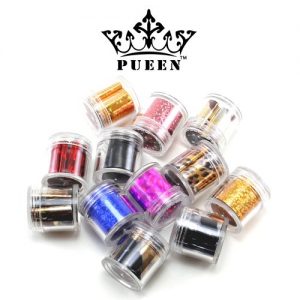
PUEEN 12 Styles Glitzy Transfer Nail Art Foil – Leopard & Colorful Patterns Nails Toes Cellphone Decoration Craft
$9.99
2. Nail Stamps
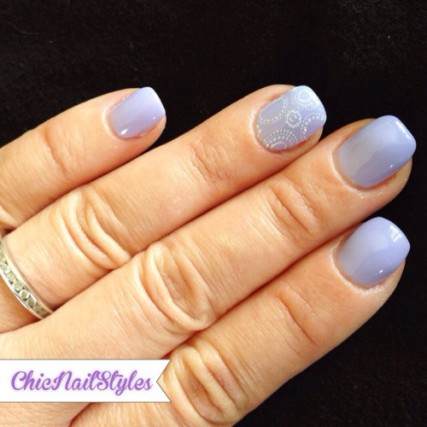
Lavender and White Gel Mani with white stamping
Nail stamps are probably one of my favorite nail art techniques. I love the uniformity of a perfectly applied stamp. And there are so many different options! The trick with stamping is finding the right polish to use and the right stamper. I use Essie’s Metallic polishes the most when I do stamping but an older thicker lacquer works well for stamping too.
3. Water Transfer Nail Tattoos
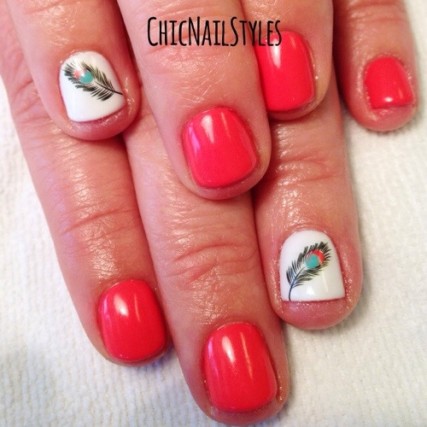
OPI Live.Love.Carnaval GelColor with Peacock Feather nail tattoo
Nail Tattoos are amazing! There are so many options, they are so easy to apply, and they are super cute! I’ve only played around with a few varieties so far but I have learned enough to know the tips and tricks. With gel polish, I didn’t have good results when I tried doing a full coverage tattoo over the entire nail. The tattoo started lifting at the free edge after a few days. So I now trim the tattoo into a shape or design and put it in the middle of the nail. These are just like those little temporary tattoos you would put on as a kid. You simply cut out the design to fit the nail, dip it quickly in water with tweezers, shake off any excess water, and press it design side down on the nail. Hold it down firmly in place with your finger for about 20 seconds and then slide off the paper backing. Let it dry completely before you add a top coat. Voila! Instant nail art!
Oh! I almost forgot! You can score super cute Fingrs Heart2Art Nail Tattoos at Walmart and possibly Target in the nail sections. I love their tattoos!
4. Vinyl Decals
This picture shows leaving the decal directly on the nail…
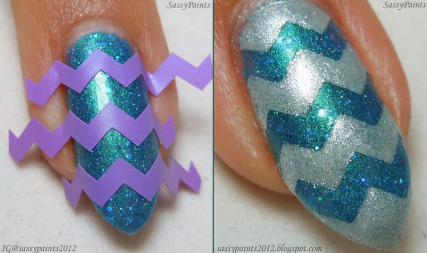
And this picture shows how to do a reverse chevron effect…photo courtesy of Sassy Paints
I’m sure by now you’ve seen the chevron nail decals EVERYWHERE. They are all the rage and for good reason. There are so many things you can do with them. You can apply them right onto the nail and encapsulate them with top coat or you can use them as a template and pull off leaving a different color of polish underneath. There are also tons of fun shapes you can buy like anchors, birds, snowflakes, etc. And, if you want to take it a step further, you can actually make your own vinyl decals with a Silhouette Cameo like this one below….

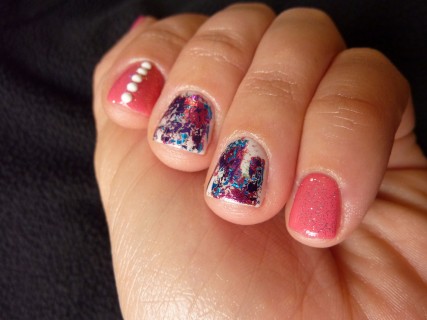
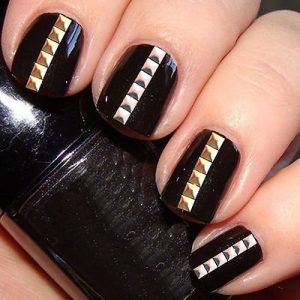
5. Gems, Studs, Charm, Bling
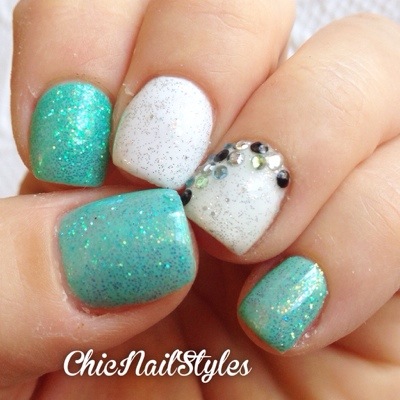
Studs, gems, and glitter
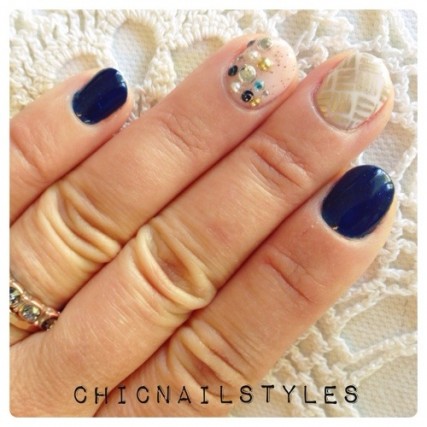
I used gel polish for this look and combined rhinestones, studs, pearls and stamping!
You can never go wrong with bling nails! There are tons of varieties of gems, studs, and charms now so you can get a ton of different looks going on. It’s kind of tricky getting the little buggers to stick though. With smaller gems and studs I usually do a thin coat of clear top coat, press the gems into the top coat, cure, and apply 2-3 more coats over the nail to ensure they stay. With bigger charms and accessories, I would use a hard gel to anchor it onto the nail. Of course with regular polish I wouldn’t use gel, I would use a combination of super glue and top coats. And a big chunky charm isn’t going to last very long with lacquer. But it’s a fun temporary look for a night out!
For a really funky look try combining all 5 of these techniques!
I tried to find a picture on the internet with all of them combined and couldn’t find anything with more than 2-3 of these ideas, but take for instance my Peacock nails above. You could do studs down the middle finger, chevron stripes on the thumb, a little bit of gold foil on the index finger, and a really cute gold stamp on the pinky. It would be a total party going on right at your fingertips! 🙂
Of course there is soooooooo much more you can do with nail art but all of these ideas are great for beginners! Plus, when you are working in a salon and time is of the essence, these are quick and fast.
As always, thanks so much for reading! Cross your fingers that my little baby boy decides it’s time to be born soon! I’m 39 weeks and oh so ready to meet him! 🙂
Tootles–Anna